
Satisfy Your Landlord: Effective End of Tenancy Cleaning Tactics
Posted on 29/06/2025
Satisfy Your Landlord: Effective End of Tenancy Cleaning Tactics
Moving out of a rental property is never a simple feat. Whether you are a tenant vacating the premises or a landlord preparing for new occupants, end of tenancy cleaning can make or break the transition -- and directly impact your deposit return. A spotless property isn't just courteous; it's an expectation. In this detailed guide, discover foolproof strategies and professional end of lease cleaning tactics that will satisfy even the most exacting landlord.
Understanding the Importance of End of Tenancy Cleaning
The primary goal of end of tenancy cleaning is to restore the property to its original state, as per the move-in inventory. Failing to do so often leads to deductions from your deposit, disputes, or reduced rental value. Proper cleaning is more than running a vacuum and dusting surfaces -- it's about deep cleaning every nook and cranny to ensure the property is impeccable for the next resident.
- Full deposit return: Landlords are less likely to deduct from your bond if the property meets cleanliness standards.
- Positive references: A satisfied landlord may provide a glowing reference for future rentals.
- Faster transitions: Clean properties rent out more quickly, reducing void periods.
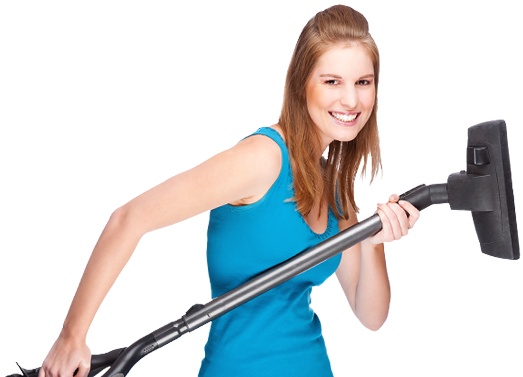
Essential End of Tenancy Cleaning Checklist
Before diving into action, create an end of tenancy cleaning checklist tailored to your property. Detailed planning ensures no corner is overlooked and increases your chances of swiftly passing the final inspection.
General Cleaning Areas
- Ceilings, cornices, and light fixtures
- Walls (removing marks, cobwebs, or stains)
- Doors and handles
- Floors (vacuum or mop according to the surface)
- Windows (inside and out if feasible)
- Skirting boards and baseboards
- Power outlets and light switches
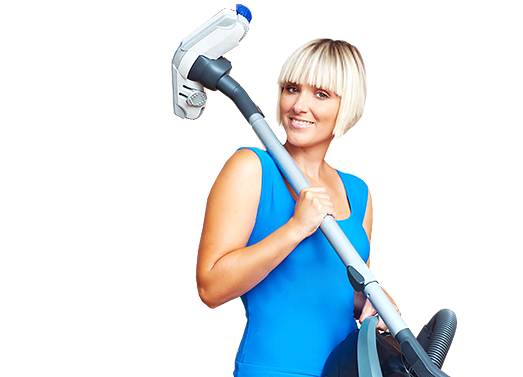
Room-Specific End of Lease Cleaning Tactics
Kitchen Cleaning- Oven and stovetop: Use a specialized degreaser to dismantle and soak removable parts. Scrub interior walls and racks until all residue disappears.
- Refrigerator: Empty, defrost, wipe shelves and compartments. Leave the appliance unplugged with doors ajar to avoid mildew buildup.
- Cabinets and drawers: Clean inside and outside to remove crumbs, stains, and lingering odors.
- Sink and taps: De-scale and polish till they shine. Don't forget to clean under the sink area where mold or leaks might be hiding.
- Worktops: Disinfect and ensure no stains or scratches remain visible.
- Basin, bathtub, and shower: De-scale and scrub tiles, grout, glass doors, and all chrome fixtures.
- Toilet: Use a strong disinfectant and bleach, paying attention to the bowl, cistern, and base.
- Mirrors and glass: Polish until streak-free.
- Extract fans: Clear dust and cobwebs for maximum ventilation.
- Cupboards: Empty and wipe down all internal and external surfaces.
- Furniture: Vacuum upholstery, wipe down hard surfaces, and move furniture to clean beneath and behind.
- Curtains and blinds: Dust or launder if required. Clean windowsills and tracks for a finishing touch.
- Carpets: Spot-clean visible stains and, where necessary, book a professional carpet cleaning service to refresh fibers and remove allergens.
Top End of Tenancy Cleaning Tips to Impress Your Landlord
Plan Ahead and Allow Enough Time
Meticulously clean before the check-out inspection. Rushing on the last day leaves room for errors and missed spots. Start with rooms that are least used as you pack, working systematically towards high-traffic areas.
Work from Top to Bottom
By starting from the ceiling and working downwards, you avoid having to re-clean surfaces as dust settles. This tactical approach saves time and ensures a thorough clean.
Choose the Right Products and Tools
- Microfiber cloths: For dusting and polishing without streaks.
- Strong degreasers: Especially for ovens, extractor fans, and kitchen surfaces.
- Descaling spray: To tackle limescale in bathrooms and kitchens.
- Vacuum with attachments: Reaches into corners, skirting boards, and under furniture.
- Mop and bucket: Suitable for different types of flooring, from hardwood to vinyl.
Pay Attention to High-Touch Areas
Details matter in end of rental cleaning. Focus on areas like door handles, light switches, kettle handles, and remote controls. These are often overlooked but accumulate the most grime.
Don't Forget the Extras
- Check for and remove cobwebs behind furniture and fixtures.
- Empty bins and wipe them inside and out.
- Remove or treat stains from furniture, walls, and flooring.
- Replace any burned-out light bulbs.
- Ensure all appliances are working and presentable, including checking seals and filters.
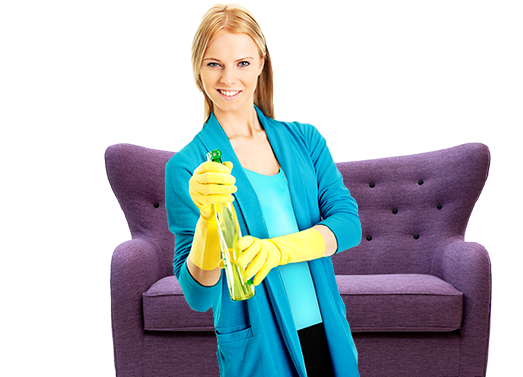
The DIY Approach vs. Hiring Professional End of Tenancy Cleaners
Are you debating between a DIY end of tenancy cleaning and calling the experts? Here is a comparison to help you decide:
- DIY: More affordable, gives you finer control, and saves the cost of professional services. However, it is time-consuming and could lead to missed spots if you overlook the checklist or lack specialized products.
- Professional cleaning services: Teams have the expertise, tools, and commercial-grade products to perform a comprehensive clean quickly. They are particularly useful for larger properties or when landlords require proof of professional cleaning for deposit returns.
Tip: Many cleaning companies provide a written guarantee and will return for a touch-up if something is missed during the inspection.
Common Mistakes to Avoid in Your End of Lease Clean
- Ignoring the inventory report: Always compare current state with your check-in photographs and the landlord's inventory.
- Leaving areas unfinished: Don't leave external areas, garages, or balconies dirty.
- Rushing or skipping drying times: Wet surfaces attract dust. Ensure everything is completely dry before the final walk-through.
- Relying on air fresheners: Masking odours is not enough! Identify and remove the original source of smells (e.g., pet hair, mold, food residue).
- Neglecting repairs: Replace or fix minor damages (e.g., nail holes, cracked tiles, loose door handles).
How to Handle Tough End of Tenancy Cleaning Challenges
Stubborn Carpet Stains
A major cause of deductions from deposits, carpet stains require prompt and specific attention. For fresh spills, blot (don't rub!) with a clean cloth and apply an appropriate cleaner. For older, set-in stains, a mixture of baking soda and white vinegar can work wonders. For best results, consider a professional carpet cleaning service.
Hard Water Stains & Limescale
In areas with hard water, limescale can accumulate in bathrooms and kitchens. Use a mix of vinegar and water or a commercial descaling spray on taps and showerheads, allowing it to sit for several minutes before scrubbing and rinsing.
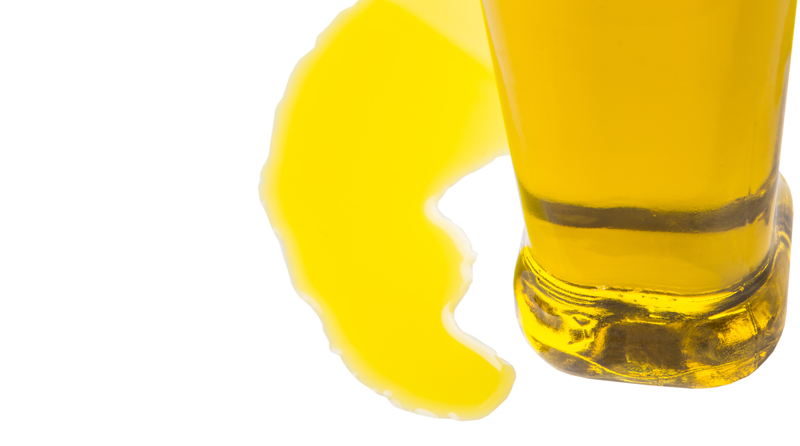
Grease Build-Up in the Kitchen
Ovens, extractor fans, and tiles near cooking areas collect grease over time. Use a heavy-duty degreaser and plenty of elbow grease. Components like hoods and filters often need to be removed and soaked for thorough cleaning.
End of Tenancy Cleaning FAQ
- How clean does it need to be? As clean as when you moved in--or better. Refer back to the move-in inventory or the landlord's checklist for exact expectations.
- Can landlords demand professional cleaning? In some regions, landlords can require proof of professional end of tenancy cleaning, particularly for carpets or furnished properties.
- What should I do if the property has wear and tear? End of tenancy cleaning focuses on cleanliness, not repairs. However, tenants are not responsible for reasonable wear and tear--but they should not leave accumulated dirt or untreated damage.
- How long does a comprehensive end of tenancy clean take? Depending on property size and condition, cleaning can take from 3 hours (small flats) to 10 hours or more (multi-bedroom houses).
Final Inspection: Pass with Flying Colors
Once cleaning is complete, do a final walkthrough with your checklist in hand. Take photographs as evidence. Invite the landlord or letting agent for an inspection--and be prepared to promptly address any last-minute comments.
Pro Tips for Extra Attention
- Use a steam cleaner on tiles, grout, and stubborn stains for deep sanitization.
- Polish chrome fixtures and door handles for a professional sheen.
- Apply a touch of lemon oil to wooden surfaces for a finishing gloss and pleasant scent.
- Don't forget outside: sweep patios, mow the lawn, and tidy up rubbish areas.
Conclusion: Make End of Tenancy Cleaning Work for You
A meticulous end of tenancy clean benefits all parties: tenants receive their deposit back, landlords can re-market a sparkling property, and new tenants move into a fresh, healthy home. By following the tactics outlined in this guide--from detailed room-by-room cleaning to avoiding common pitfalls and understanding when to hire professionals--you stand the best chance of leaving a great impression. Impress your landlord, secure your deposit, and set a new standard for end of tenancy cleanliness that others will aspire to follow.
Remember, attention to detail is the secret ingredient in effective end of tenancy cleaning. Start early, use the right products, and follow our checklist for a stress-free move out and a satisfied landlord!